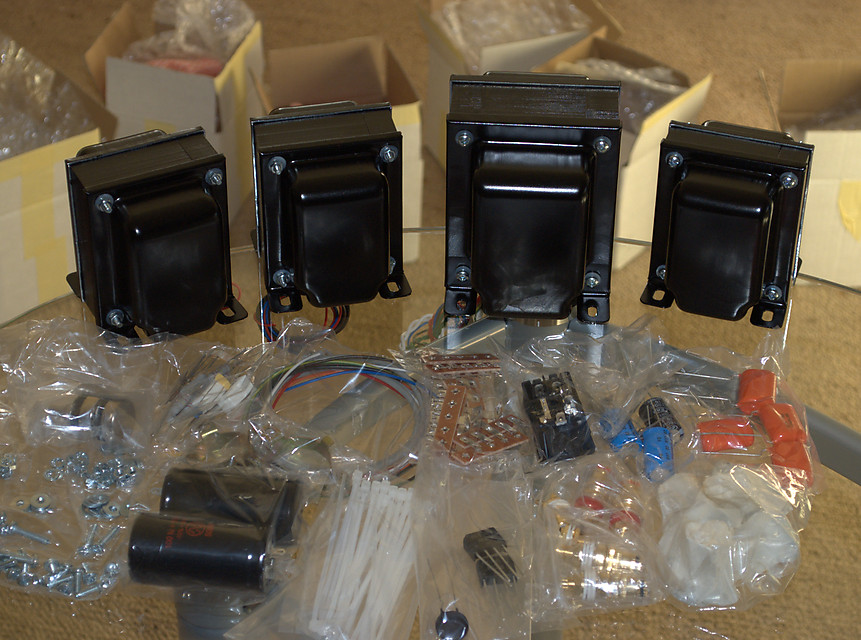
I had forgotten how time-consuming this type of project is. Perhaps I’m just overly cautious, but I figure you’re always better of getting it right the first time than doing rework later. Usually, things I build work first time, so I think this approach does pay off. So here are a few suggestions for a project like this: Measure each resistor with a digital multimeter before putting it in place. Check each component and surrounding connections against the schematic before fastening it in place. Make sure that each component has a secure physical connection before soldering – don’t rely on solder to hold it together.Read More →

Earle provides a series of photographs for the Thunderbird build, showing his recommended parts layout step-by-step and details of construction methods. I like to get the “big picture” in my head, so I sketched out Earle’s recommended component layout on paper from the photographs. I then figured that since the Thunderbird is a good candidate for trying some parts swapping and tweaking, I’d modify the layout a bit so it would be a little easier to access and replace certain components. I don’t really know how other people do it, but drawing up a layout is something that I like to do with a notepadRead More →

Weston Thunderbird parts
Sticky

The Weston Acoustics Thunderbird is a kit amplifier from Earle Weston. This is a single-ended amplifier that by default uses two KT88 tubes, but can be biased (by changing the cathode resistor) to several other tube types. I first encountered the amp a couple of months ago at Terry Jones’ get-together in Bathurst, and took a couple of photographs of it. Since I already own one of Earle’s amps (the Trinity Signature), I decided to order and build up the Thunderbird kit as a complement. The topologies of the two amps are quite different (the Trinity is push-pull and valve-rectified whereas the Thunderbird is single-endedRead More →