When the Virtue Audio amps are used with “high current” power supplies, a delay is needed before allowing full current from the power supply to flow. The first batch did not aw sufficient delay, so Seth Krinsky sent out update kits to those able to install them themselves. Here are a few pics of the process.
Removing the cover requires that the volume knob be pulled off, and then a 2mm hex key to remove four screws:
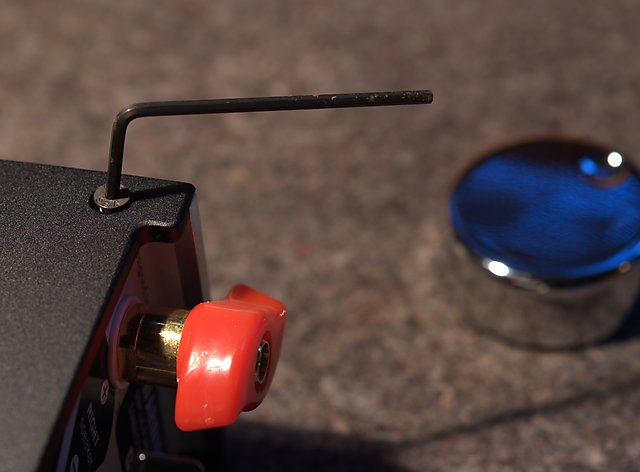
You need to pry apart the two sides of the cover and then slide it off the amp:
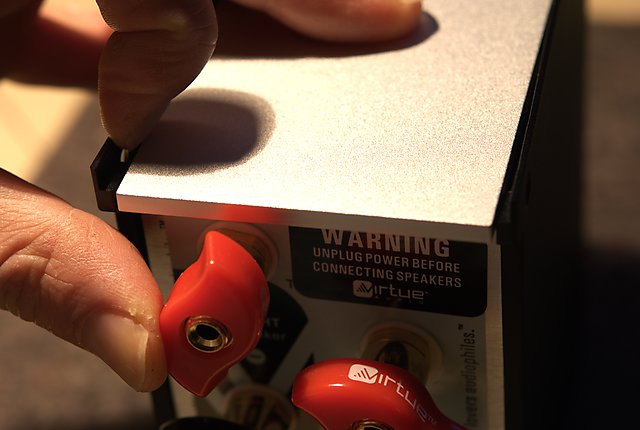
Before you wrench the cover off though, make sure that you disconnect the lead for the front-panel LED:
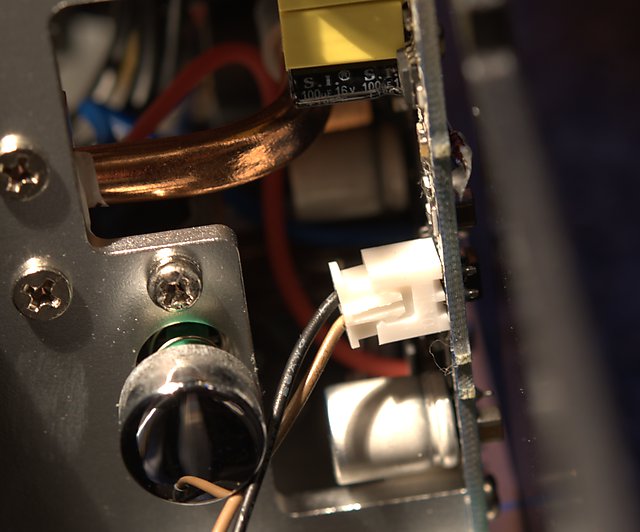
Once you have removed the cover, you will need to remove the knob from the power switch and unscrew the power switch assembly/circuit board from the chassis. It will still be attached to three wires, so just carefully detach the switch from the chassis and then rotate it so that you can access the under-side of the board:
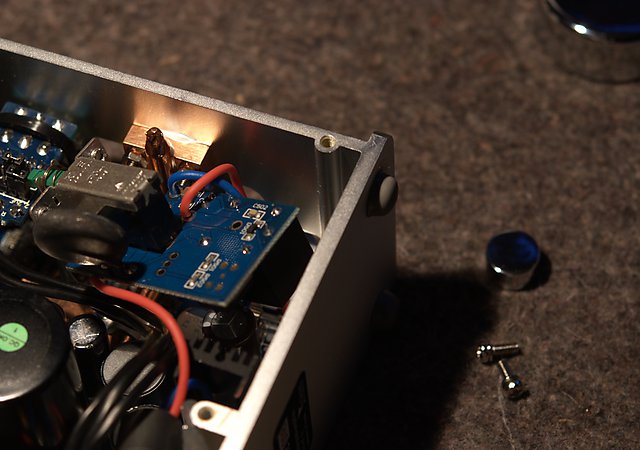
A 470 uF capacitor is then soldered across the SMD resistor R520, one lead at a time:
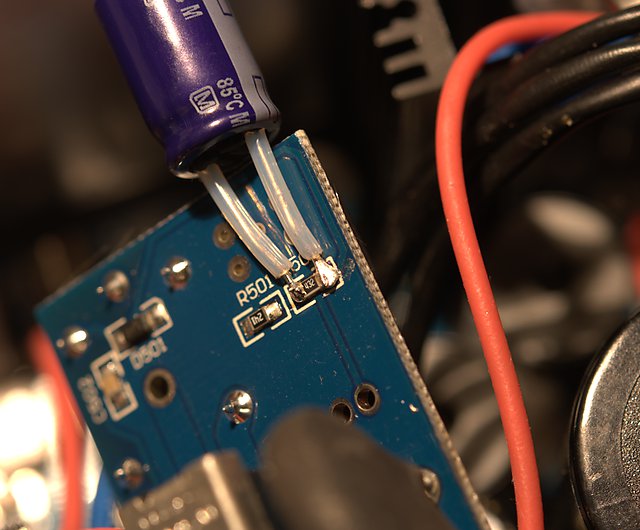
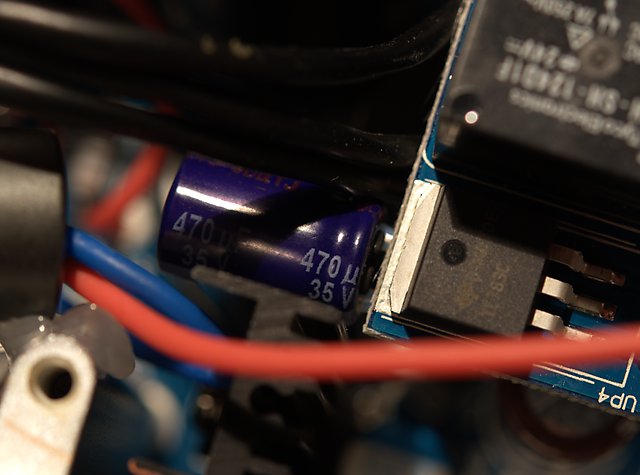
You will then need to rotate the power switch board so that it can be remounted onto the front panel of the chassis. The capacitor soldered on will now be “underneath” the board:
With all that done, carefully replace the cover. Don’t forget to reconnect the lead for the power LED!