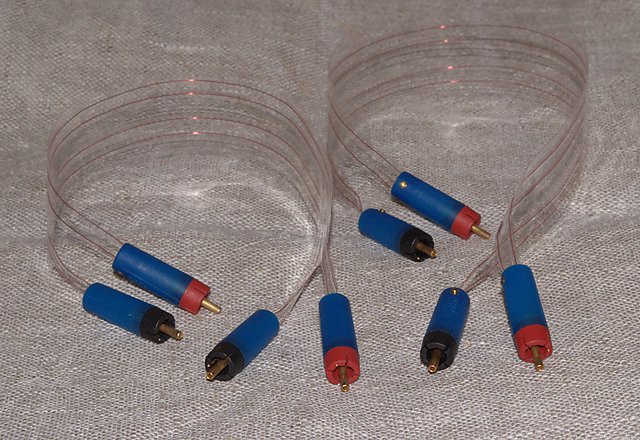
I have in the past made interconnects with “magnet wire” – this is a solid copper conductor insulated with a thin layer of enamel, so also search for “enameled copper wire” when looking for it. It is used for making the windings of transformers and motors, and is therefore plentiful and cheap. My earlier efforts involved wrapping magnet wire in a spiral around various type of core, like teflon tubing. But I was never all that happy with them and ended up putting my efforts at the time into the cable recipe devised by Jon Risch, involving the cores of Belden 89259 and 89248 twisted togather and then covered with a braided shield.
More recently, I ran across this article by Greg Weaver, and decided to have another go at making an interconnect with magnet wire. Magnet wire in small gauges can be obtained fairly cheaply from various sources including e.g. Radio Shack and Jaycar. What I’ve done here is make a set (two pairs) of interconnects using 30ga (0.25mm diameter) copper wire.
While the Weaver article linked above uses fine gauge silver wire, I would suggest making some out of copper magnet wire first until you’ve had a bit of practice.
Apart from the magnet wire, you need some clear 2″ wide tape. I used Scotch heavy-duty clear tape. You will also need RCA plugs – I used Eichmann bullet plugs. While they are not cheap plugs, they fit with the spirit of this style of interconnect, in that the conductor can continue pretty much in a straight line right through the plug.
1. Lay down one length of the tape. You will need to tape it at both ends to hold it down to your working surface. Then, one by one, tape a length of magnet wire down at one end, carefully press it down onto the tape along the whole length, and then tape it down at the other end. Repeat for the full set of four lengths of wire, then carefully stick another length of tape over the whole lot.
This photo shows the tape and magnet wire stuck down to the working surface at one end:
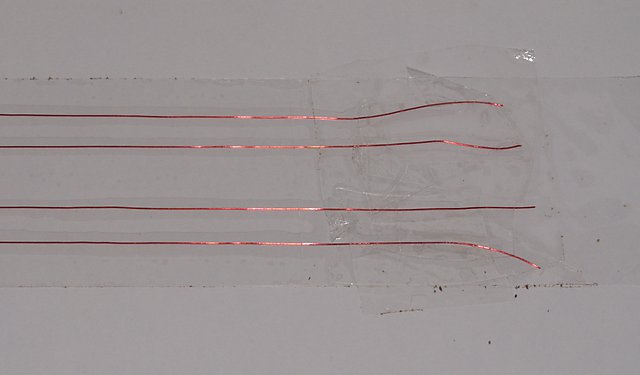
It is unavoidable that you will get some bits of dust and dirt stuck to the tape at the edges – this will be trimmed off, so don’t worry about it too much. You do, however, need to be careful to avoid getting fingerprints all over the tape… the way I do it is to use one hand to “tension” the magnet wire, and then run a small screwdriver along the wire to press it down onto the tape. This way you can end up with quite a clean length of tape (except for the ends, which again will be trimmed off).
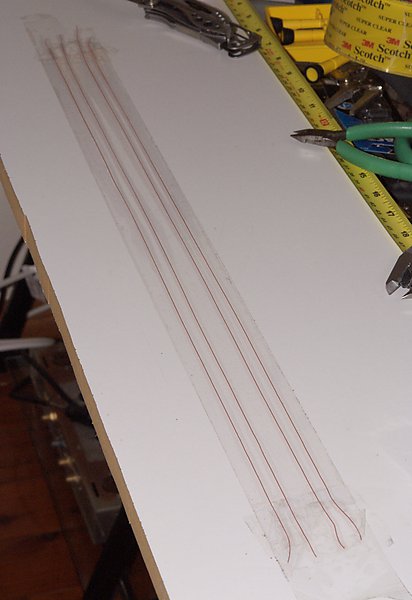
Here is the full length stuck down:
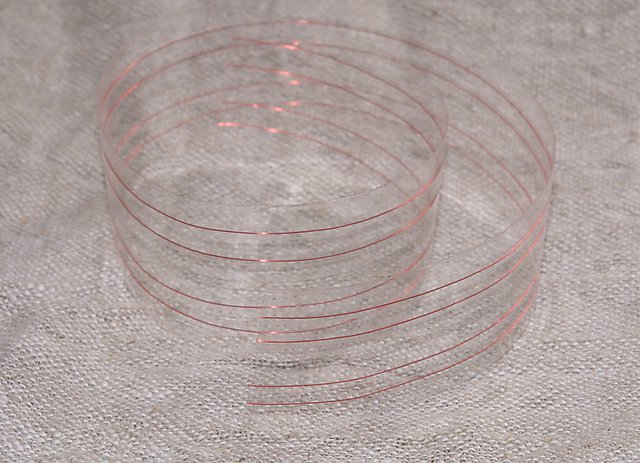
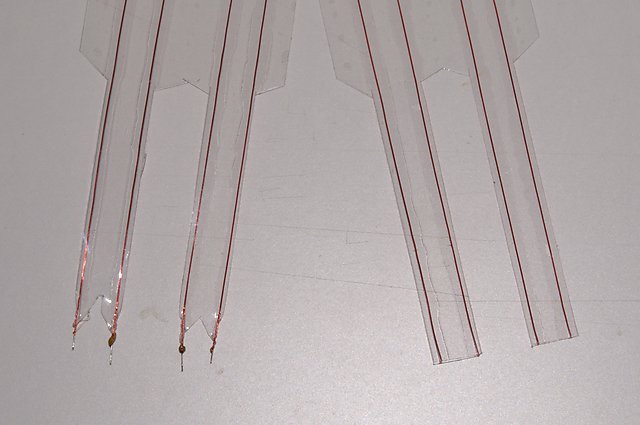
2. Carefully unstick the assembled “cable” from the working surface and trim it at both ends to the desired length. Using a sharp knife and a straightedge, trim a couple of millimeters off the edges to give a nice clean edge. This is what you should get:
3. Trim the tape so that the barrel of the RCA can be slid over each channel. I found that around 6cm trimmed as shown on the right in the photo below to be adequate. Then trim and tin the ends in preparation for soldering, as shown at the left of the photo. The heat from a soldering iron with a blob of solder on it is enough to melt the insulation, I found.
4. Slide the barrel of the connector over the tape, solder the tinned ends of wire onto the Eichmann connector, and carefully screw the barrel on. This is where it gets fiddly, as the wires are very small. One tip: when soldering to an Eichman bullet, plug it into a chassis-mount RCA socket (a loose one, not one in a chassis). This provides some heatsinking for the delicate connector, and then you can also use something like a small pair of vice-grips to hold the connector steady.
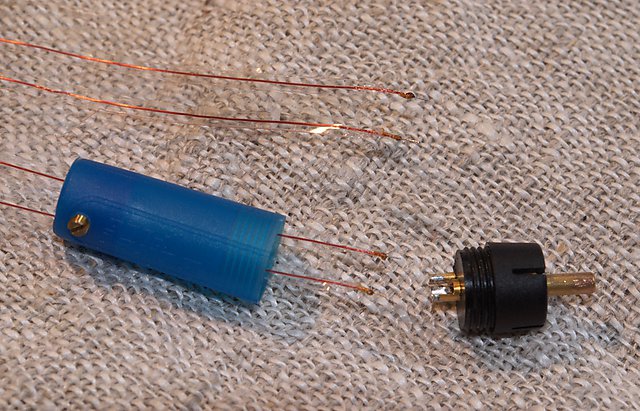
Here is how the completed interconnects look. As usual, I make them in the length I need to work in my system – these are 40 and 50cm long:
